
")

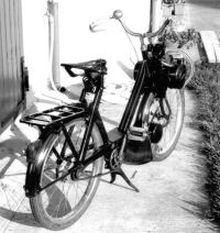
For solex that are in good condition but whose engine does not work, a simple cleaning is often enough to restart.
Engine blocked?
Solex engines are relatively easy to restart if the piston is not stuck in the cylinder. To verify this, remove the magnetic flywheel cover and turn the handwheel by hand or by pushing the Solex, engine in gear. The engine must turn and have hard points that are the compression times. It also verifies that the segmentation of the piston is good. If the magnetic flywheel turns in a vacuum, the molded flywheel key and clutch will be checked.

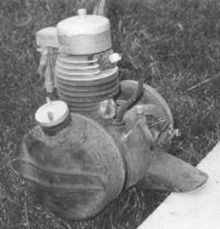
The tank is a very important part in the operation of the engine. It must be absolutely clean not to stay on the down side of the road. The rust, the remains of oil several years old and the impurities contained in the tank lead to the clogging of the gas lines and jet until the Solex.
The different Solex engines are relatively simple and standard. The new models have always replaced their predecessors with only a few changes. This has the advantage of being able to find sometimes new parts such as seal kits and use them on old models. Accessible mechanics!